Introduction
This tutorial will teach you how to create some basic scene using Gsage engine.
If you have not built the engine yet, check out these build tutorials:
After you build the engine you will have the following file structure:
game/game.app/game.exeexecutable file should be in the build/bin folder. This file is the main game executable.All resources are located in ./resources folder. This folder is symlinked to game.app/Contents/Resources on the Mac OS X systems.
editor/editor.app/editor.exeshould also be in the game folder.
Old example of game executable in action:

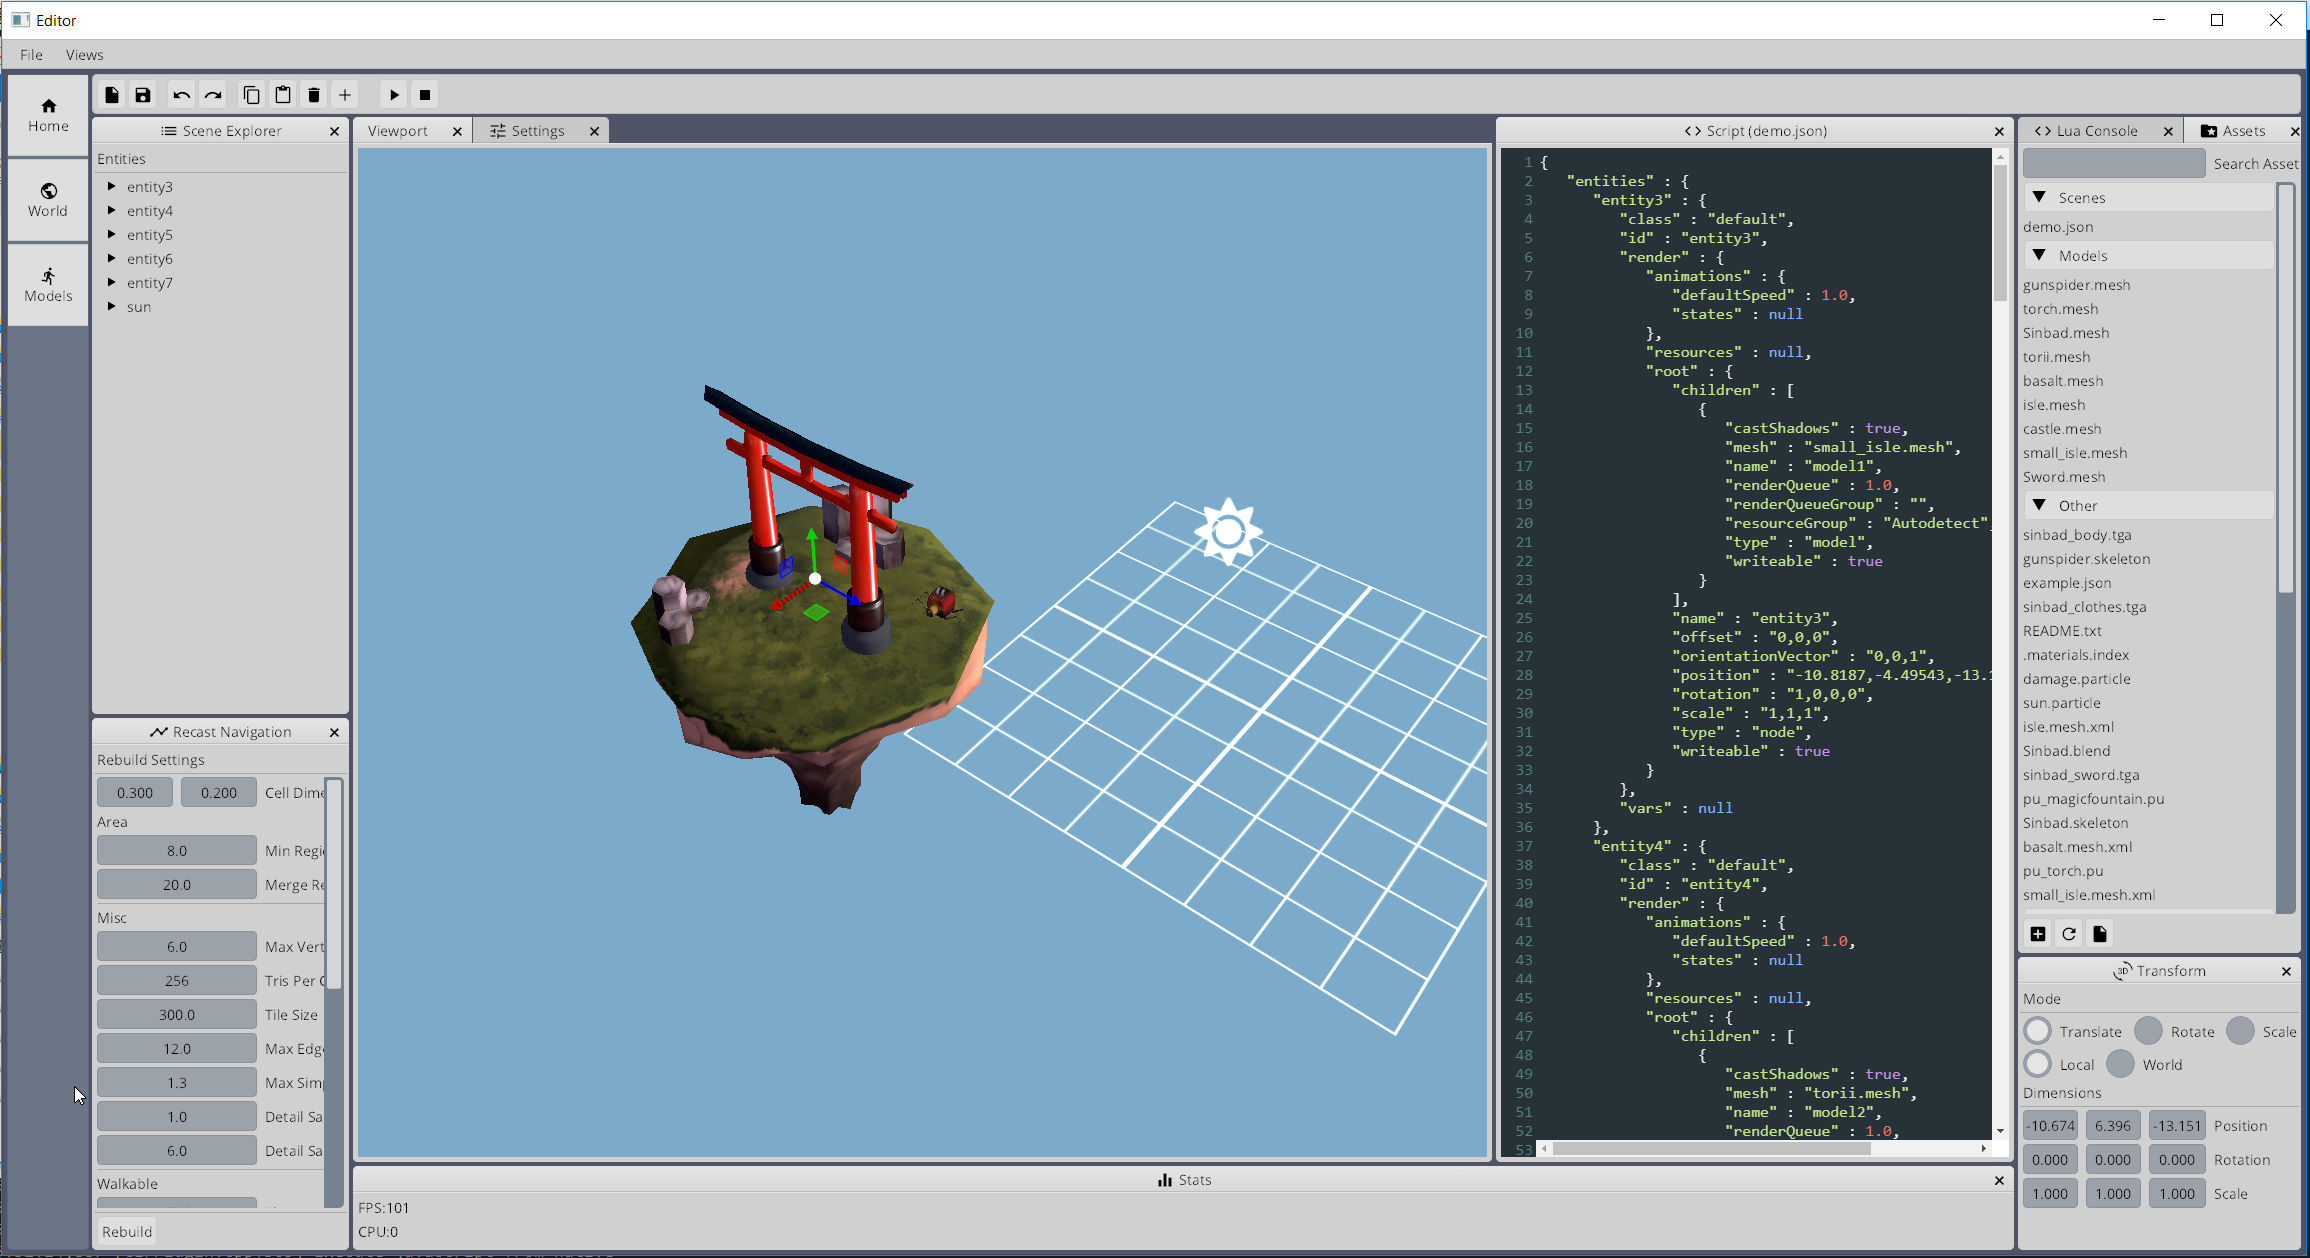
editor:
Modifying Level
Note
Information below is outdated, use editor application instead. Manuals for editor will be available later.
If you open resources/levels folder, you will find the file named exampleLevel.json there. This file provides some basic level example.
You can modify it the way you want:
Add some model to resources/models folder (
world.mesh).Change entities list, and add this model to position
"x: 0, y: 0, z:0":
entities: [
...
{
  "id": "hello",
  "render": {
    "root": {
      "position": "0,0,0",
      "rotation": "1,0,-1,0",
      "scale": "1,1,1",
      "children": [{
        "type": "model",
        "mesh": "world.mesh",
        "castShadows": true
      }]
    }
  }
}
...
If you run game, you should see your model on the scene. MovementSystem should automatically calculate walkable areas for this mesh.
For more information about entities format refer to Entity Format.
Modifying level demo:
Creating Characters
If you open resources/bundles/characters folder, you will see couple entities defined there:
sinbad.json which is controlled by player.
ninja.json which are hostile NPC.
You can use these characters as a reference and create a new character:
Grab model with some animations and add it to models folder.
Create new
jsonfile in the resources/characters folder.Now you should be able to configure the character:
3.1. Write Render Component
"render":
{
  "resources":
  {
    "Mob":
    [
      "Zip:models/packs/mob.zip" // pack file
      // or you can do
      "FileSystem:models/mob/"
      // or you can omit this section and add resource folder in global settings
    ]
  },
  "root":
  {
    "scale":"1,1,1",
    "rotation":"1,0,1,0",
    "children":
    [
      {
        "type": "model",
        // this is important, otherwise this entity will be treated as part of level
        "query": "dynamic",
        "name": "modelName",
        "mesh": "mob.mesh",
        "castShadows": true
      }
    ]
  },
  "animations":
  {
    "states":
    {
      // animation is configured as <model_name>.<animation_name>
      "walk": {"body": "modelName.WalkAnimation"},
      "idle": {"body": "modelName.IdleAnimation"},
      "attack": {"top": "modelName.AttackAnimation"},
    },
    "defaultState": "idle",
    // animation speed. Adjust if necessary
    "defaultSpeed": 1
  }
}
3.2. Write Movement Component
"movement":
{
  // movement speed
  "speed": 10,
  // animation to use for movement
  "moveAnimation": "walk",
  // animation/speed ratio to apply
  "animSpeedRatio": 0.15
},
3.3. Write Stats Component
// stats component is not limited by param types at all
"stats": {
  "anything": 123
}
3.4. Write Script Component
Create script file characters/scripts/mob.lua. This file will be used as a setup script.
Startup script should return a function that accepts one parameter. This way the function will get subject entity as the first parameter.
-- log information on startup
return function(self) print("I am alive! (" .. self.id .. ")") end
Then write behaviour:
local function moveRandomly(self, context)
  local position = Vector3:new(
    self:render().position.x + math.random(30) - 15,
    0,
    self:render().position.z + math.random(30) - 15
  )
  self:movement():go(position)
end

local function createTree()
  return Repeat(
      Delay(Leaf(moveRandomly), function() return math.random(700)/100 + 3 end)
    )
  )
end

btree.register("walker", createTree)
Saving it as behaviours/trees/walker.lua.
Then you will be able to define script component:
"script":
{
   "setupScript": "@File:characters/scripts/mob.lua",
   "behavior": "walker"
}
Add character to scene. Edit scripts/start.lua file, add:
entity.create("mob")
This will create NPC. Or you can use lua console in GsageExe.
Console can be invoked by
F9key. Type the same line there, and NPC will appear.
Modifying UI
UI integration is managed by classes, derived from Gsage::UIManager interface.
Engine can have several UI libraries running at the same time.
LibRocket
RocketUI plugIn should be installed.
LibRocket looks like a dead project, but it can be configured very nicely using rml and rcss files.
And also it supports lua bindings out of the box, so can have very organic connection with other parts of the engine.
All librocket ui files are stored in the resources/ui folder.
Currently it’s in the mess, but it will be cleaned up very soon.
Imgui
ImGUI plugIn should be installed.
Imgui views can be registered in lua using:
-- render method
function render()
imgui.ShowTestDialog()
end

-- render view class for stateful UI
View = class(function()
end)

function view:__call()
imgui.ShowTestDialog()
end

local view = View()

imgui.manager:addView("viewID", view)
imgui.manager:addView("viewID2", render)

-- remove
success = imgui.manager:removeView("viewID")